How to Draw a Coon Out of a Tree
The raccoon is a medium-sized mammal native to North America. Raccoons are predominantly classified as omnivorous, but they can eat just about anything they can get their hands on!
They are also mostly nocturnal, so they're often wandering around while other animals sleep.
Though raccoons originated from the wilds, they have found their way into big, urban cities and they're loving the city life!
Approximately fifty times more raccoons live in the city of Toronto compared to the surrounding countryside and grasslands.
The peculiar appearance and extreme cleverness of raccoons has made them very interesting to draw.
Thus, we have created a step-by-step process on how to draw a raccoon, summed up in 9 easy instructions and simple illustrations.
Have a good time drawing an adorable raccoon!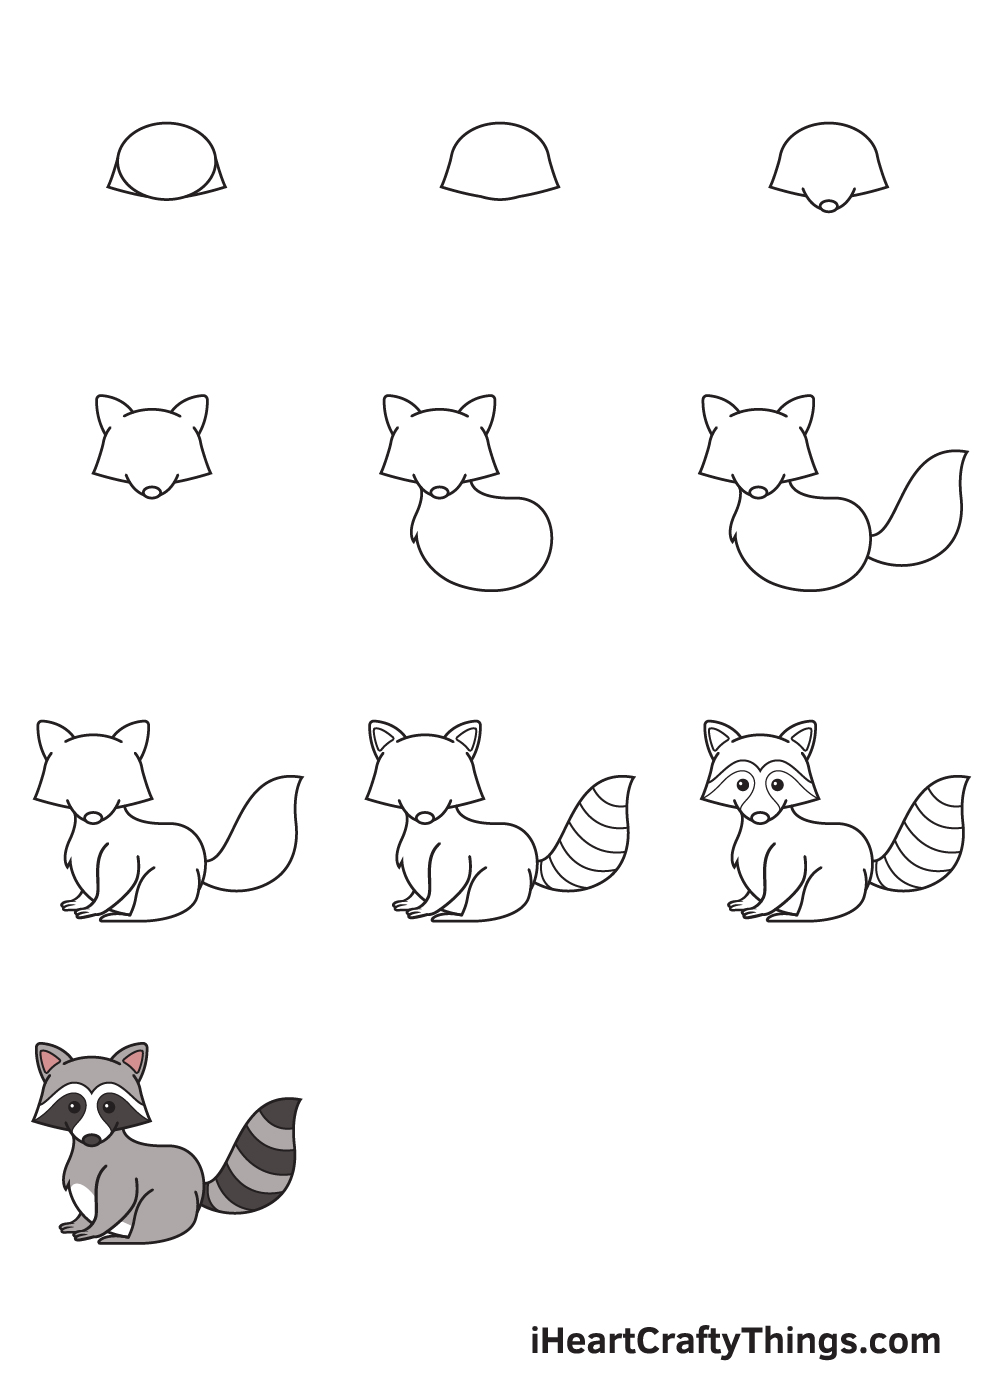
What's in this Blog Post
- How to Draw a Raccoon — Let's get started!
- Step 1
- Step 2 — Create an Outline of the Raccoon's Head
- Step 3 — Afterwards, Draw the Snout of the Raccoon
- Step 4 — Next, Draw the Raccoon's Pair of Ears
- Step 5 — Then, Outline the Body of the Raccoon
- Step 6 — Now, Draw the Fluffy Tail of the Raccoon
- Step 7 — Draw All Four Limbs of the Raccoon
- Step 8 — Add Patterns on the Raccoon's Ears and Tail
- Step 9 — Now, Draw the Raccoon's Facial Features
- Your Raccoon Drawing is Complete!
How to Draw a Raccoon — Let's get started!
Step 1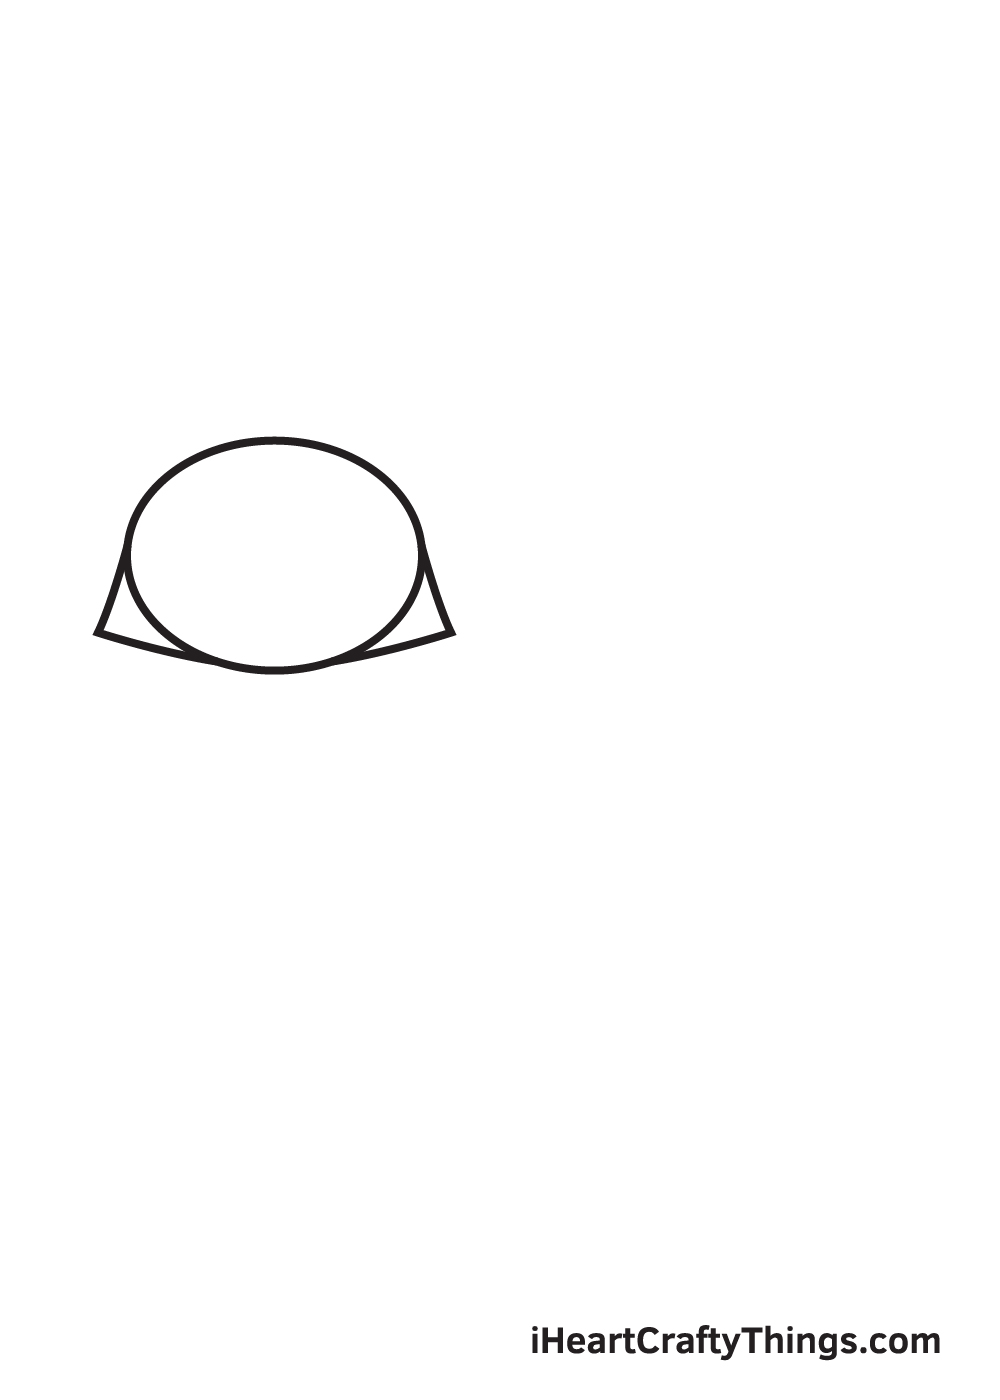
Begin by drawing a sideways oval shape on the upper left side of your paper. This forms the shape of the raccoon's head.
Afterwards, draw an angled figure on both sides of the lower part of the head. This creates the distinct furry cheeks of a raccoon!
When drawing an outline or a rough sketch, it's important to draw with a light grip and gentle strokes. This ensures that you can easily erase some parts of the outline you may no longer need later on.
Step 2 — Create an Outline of the Raccoon's Head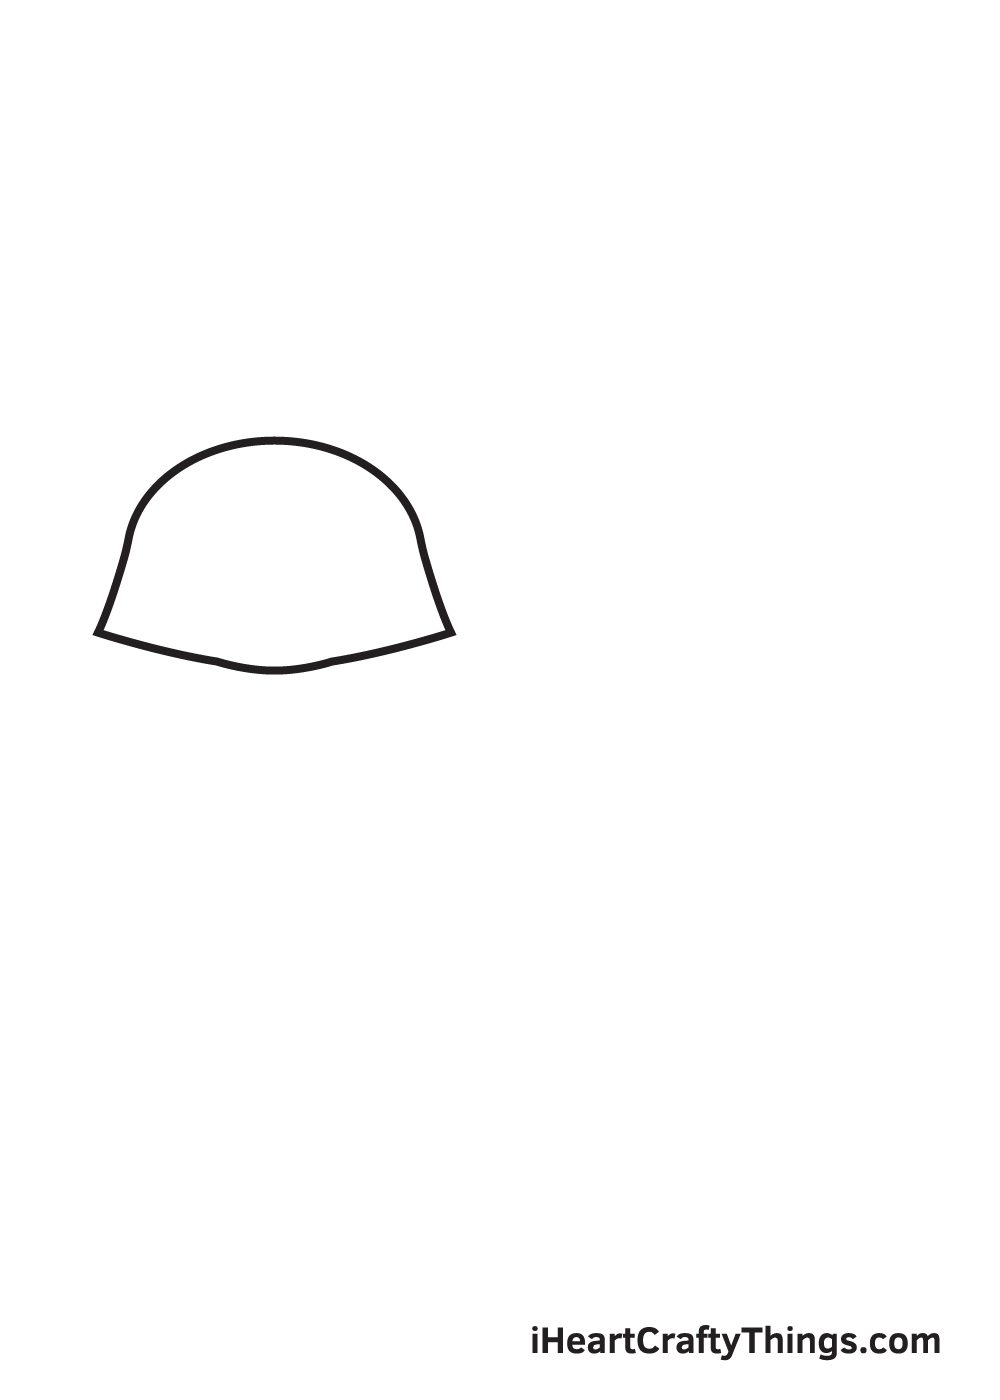
Erase the bottom part of the oval shape that overlaps within the figure. This refines the shape of the raccoon's head.
After finishing this step, the outline of the raccoon's head should now be polished up. Thus, it should look more refined and visible.
Step 3 — Afterwards, Draw the Snout of the Raccoon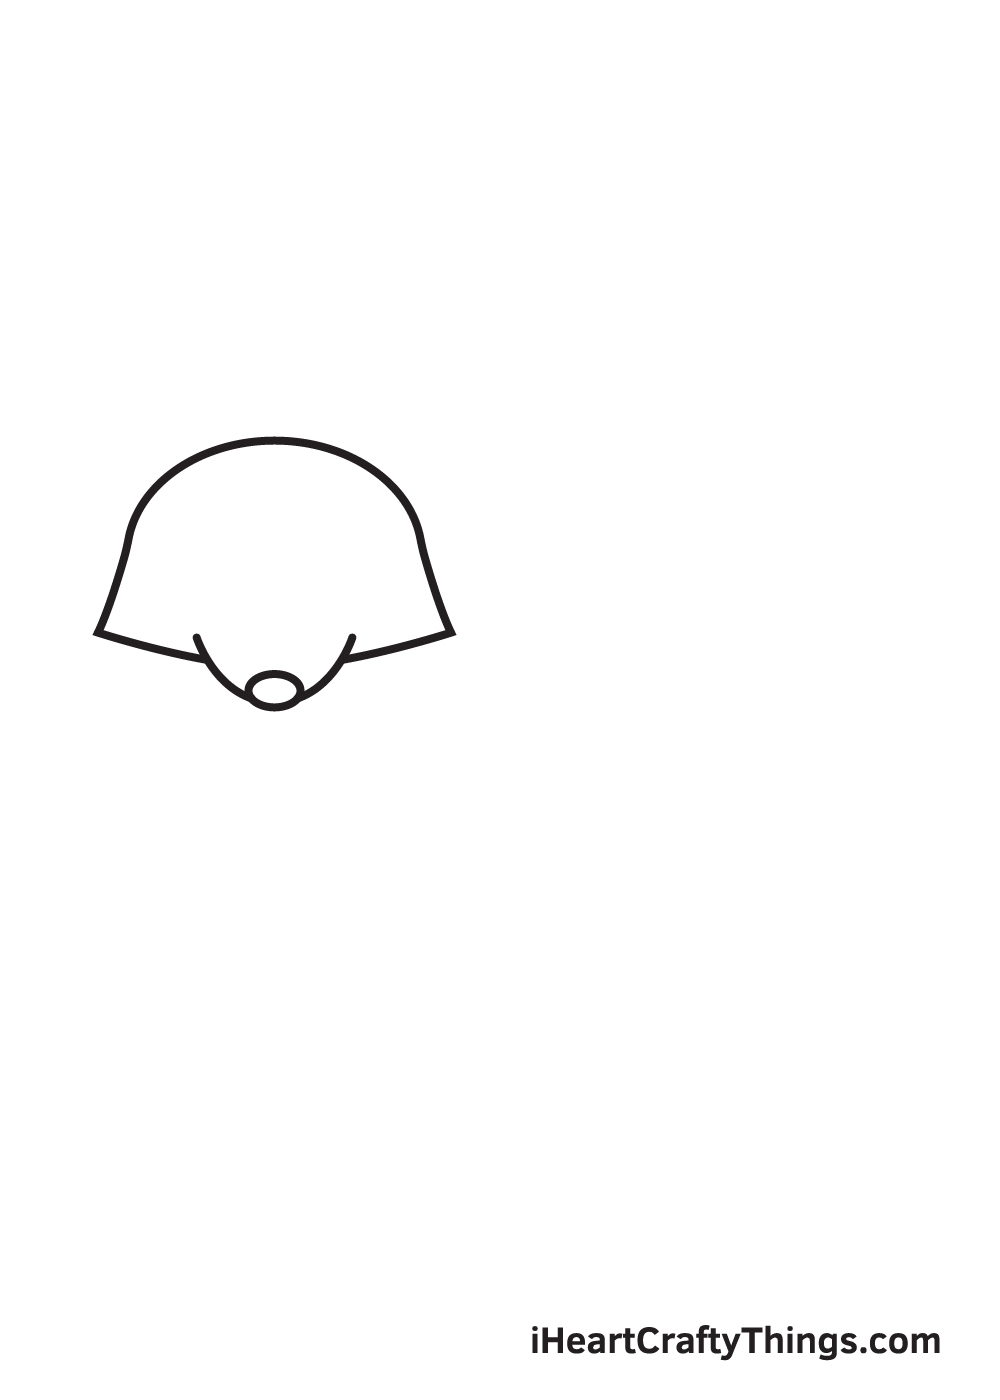
Draw a curved line on the lower middle part of the head of the raccoon. Then, draw a small sideways oval shape at the bottom of the curve. This forms the snout and the nose of the raccoon.
Make sure that the snout is slightly pointed towards the end—it's one of the raccoon's most distinct features!
Don't forget to remove the part of the outline that overlaps with the snout!
Step 4 — Next, Draw the Raccoon's Pair of Ears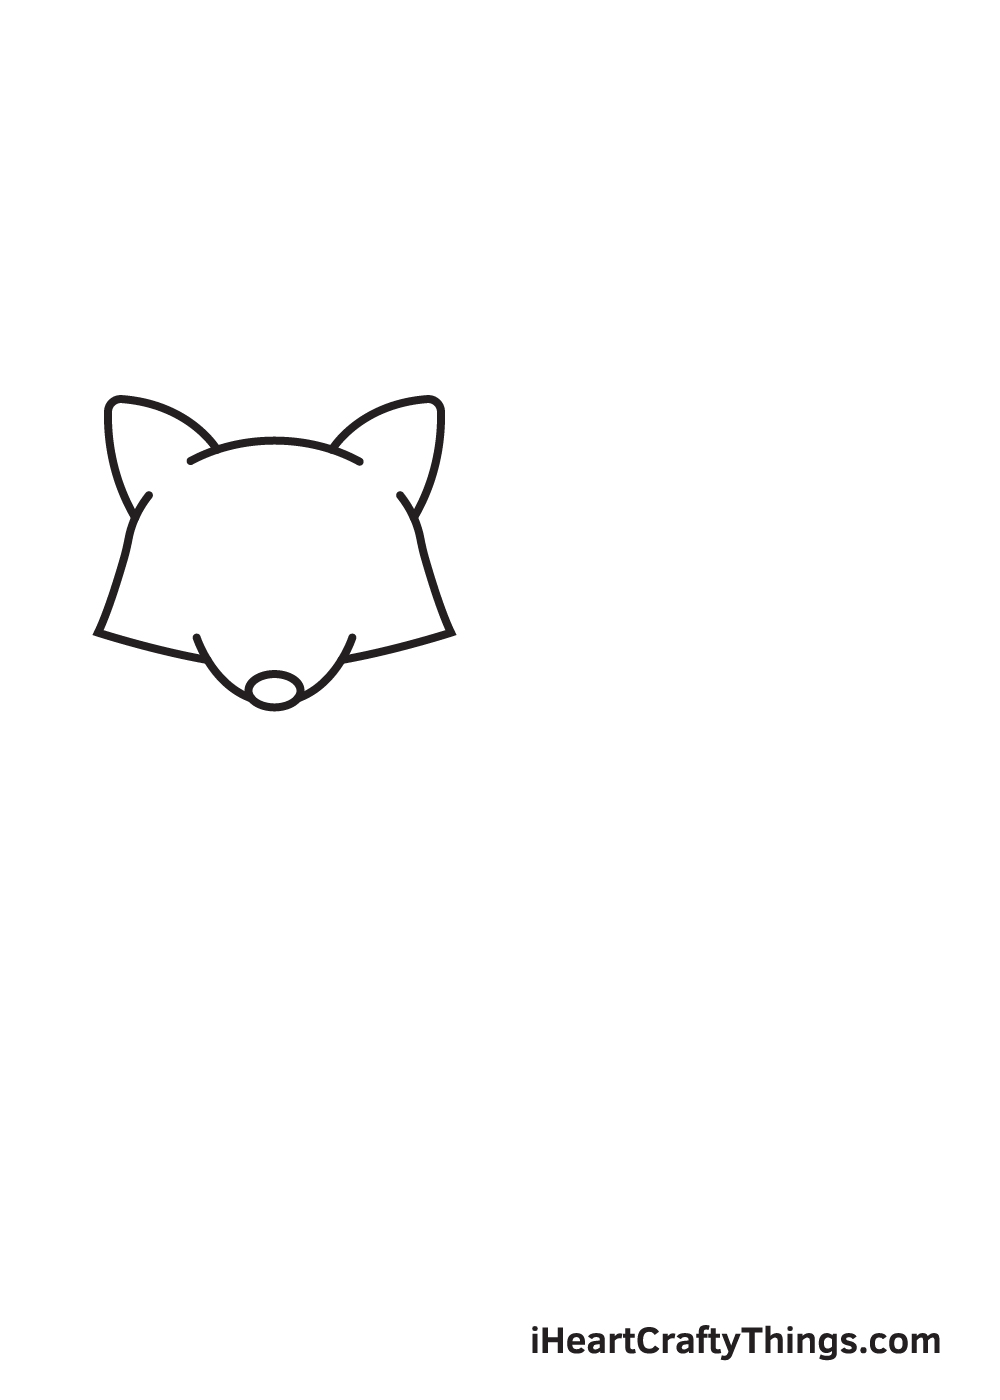
Draw two inverted V-shaped lines on both sides at the top of the raccoon's head. This forms the pair of ears of the raccoon.
Similar to the previous steps, make sure to remove the lines that overlap within any part of the raccoon's body. This helps keep your drawing neat and tidy, and most importantly, refined.
Step 5 — Then, Outline the Body of the Raccoon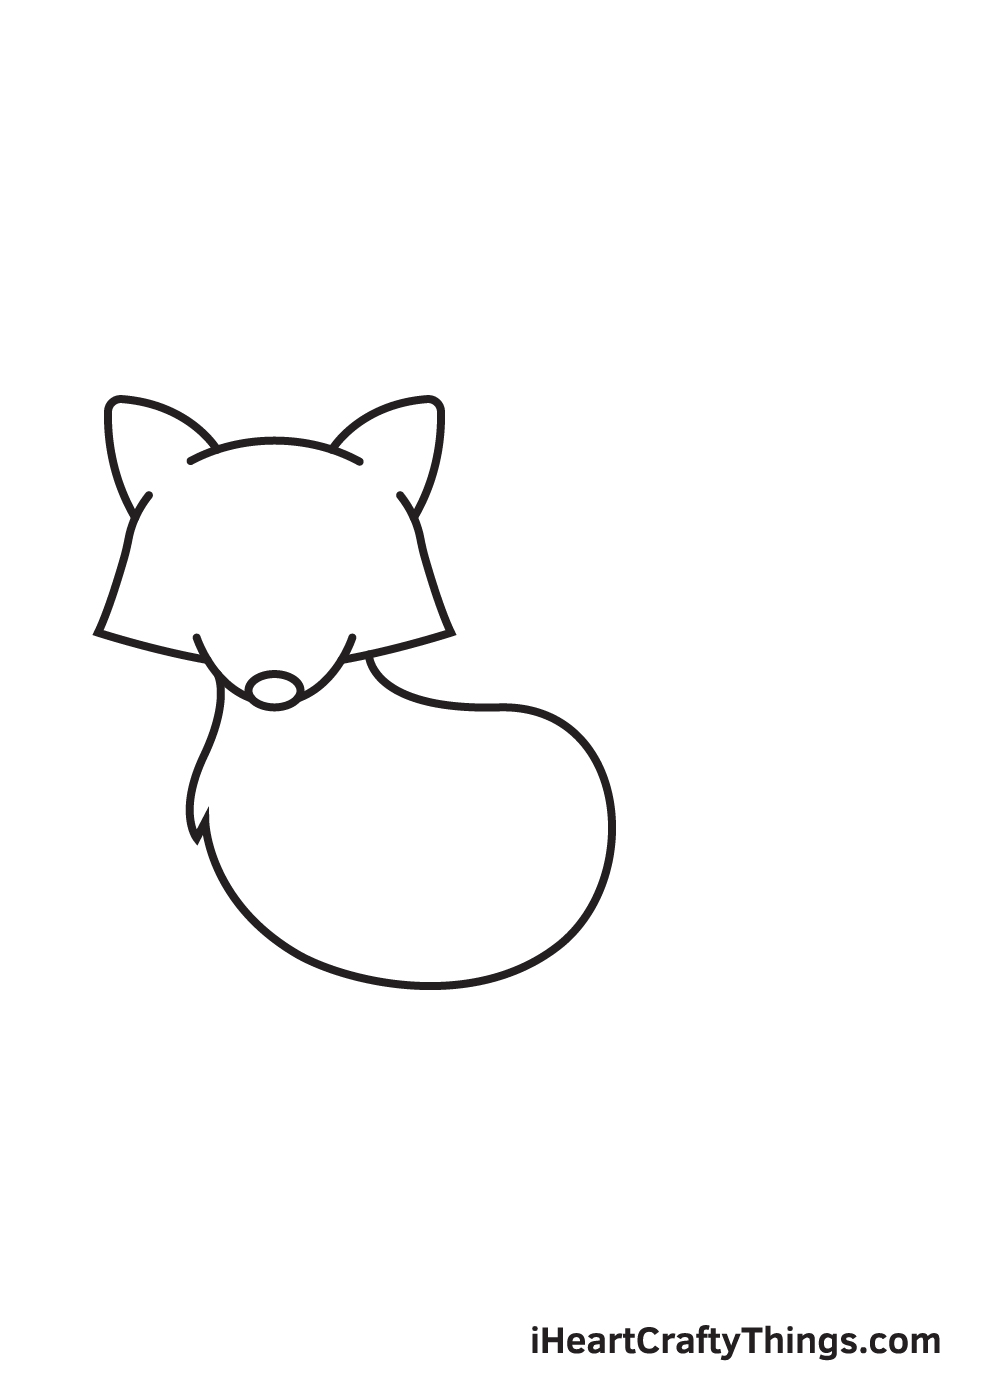
After creating the head of the raccoon, it's time to structure its body. Proceed by drawing a round figure right underneath the raccoon's head.
Make sure to draw some pointed clumps of fur on the surface of the body to add texture, making it appear furry and realistic!
Step 6 — Now, Draw the Fluffy Tail of the Raccoon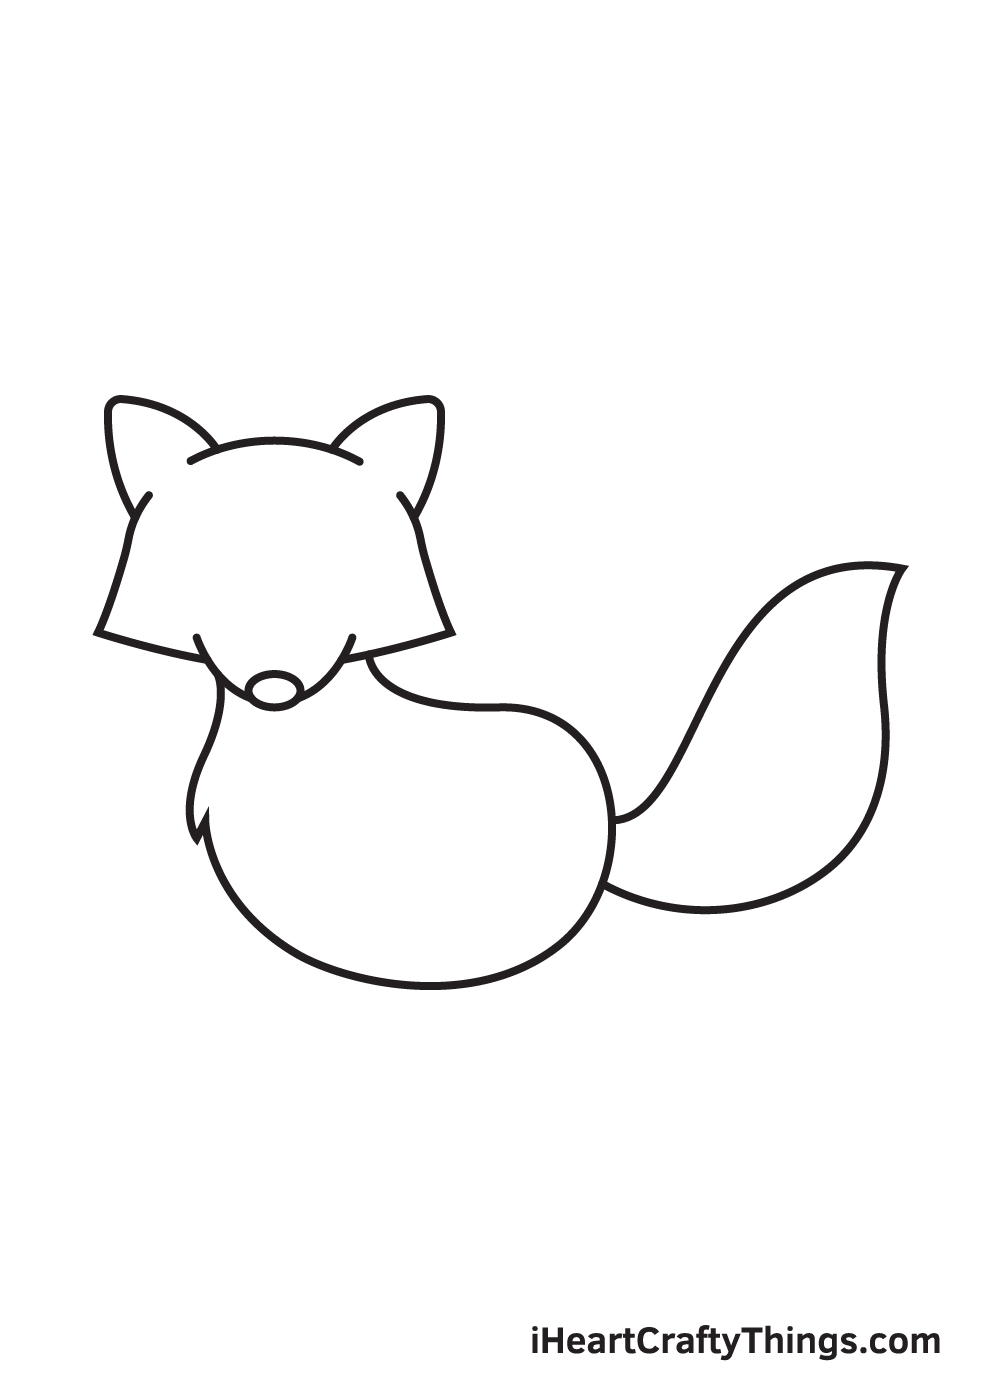
Draw an elongated, pointed figure connected to the bottom back of the raccoon. This forms the raccoon's tail.
Raccoons typically have thick, fluffy tails, so make sure to keep that in mind when drawing the tail!
Step 7 — Draw All Four Limbs of the Raccoon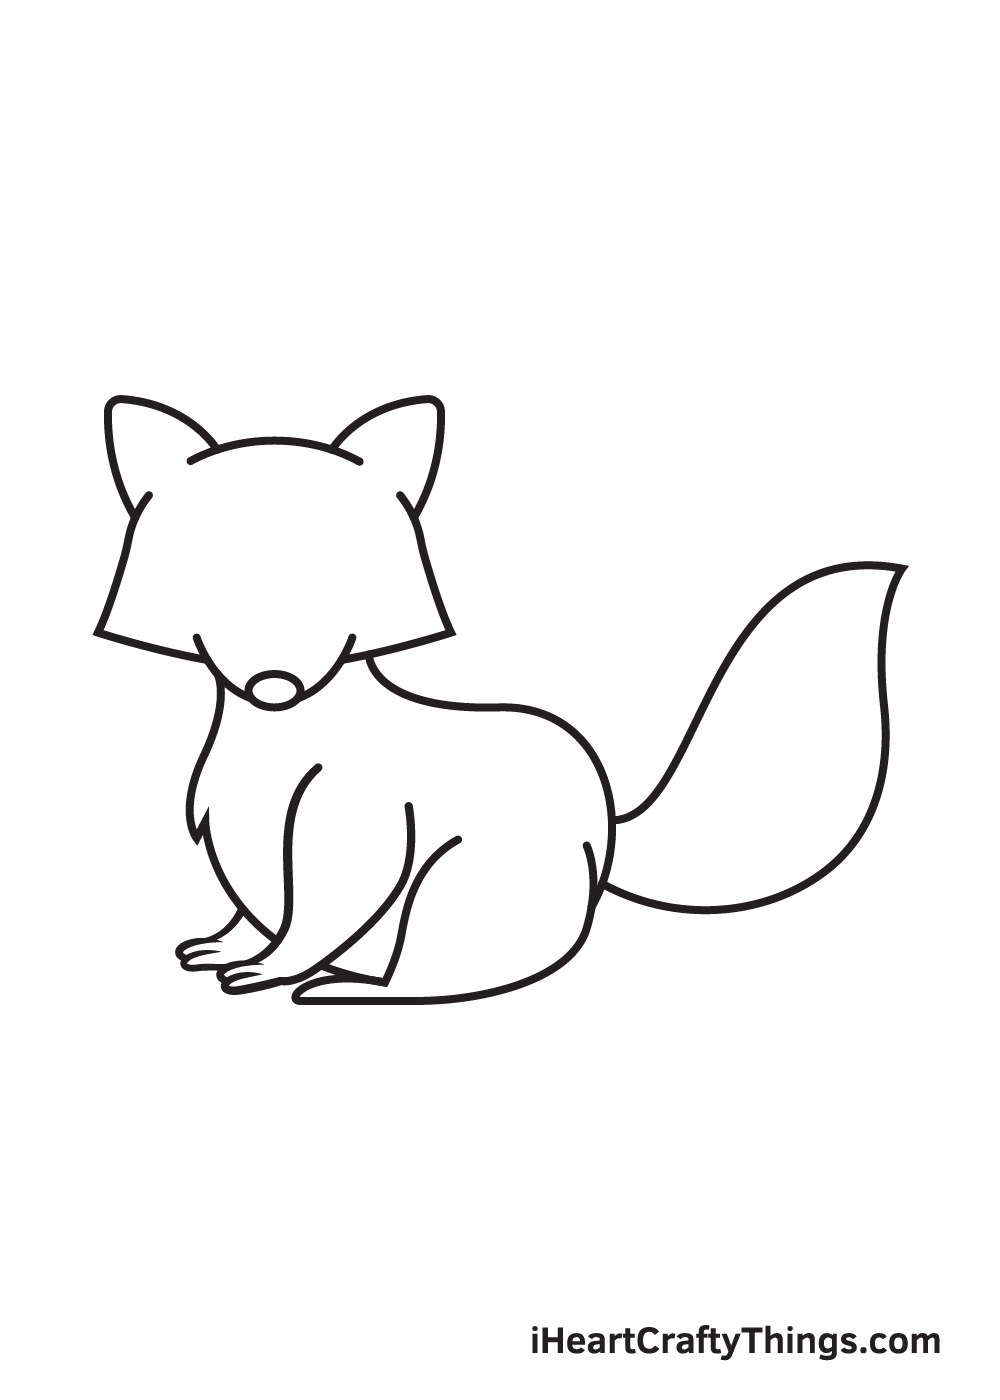
Draw a curved elongated figure with claws on the right side of the raccoon's chest to form its right front leg. Then, draw the visible claws of the left front leg on the opposite side.
Afterwards, draw a wider curved figure with a foot to structure the right hind leg. Bear in mind that the hind leg of the raccoon should be a bit thicker than its front legs.
Since the raccoon is facing towards the left side, its left leg isn't visible, as seen in the illustration above.
Step 8 — Add Patterns on the Raccoon's Ears and Tail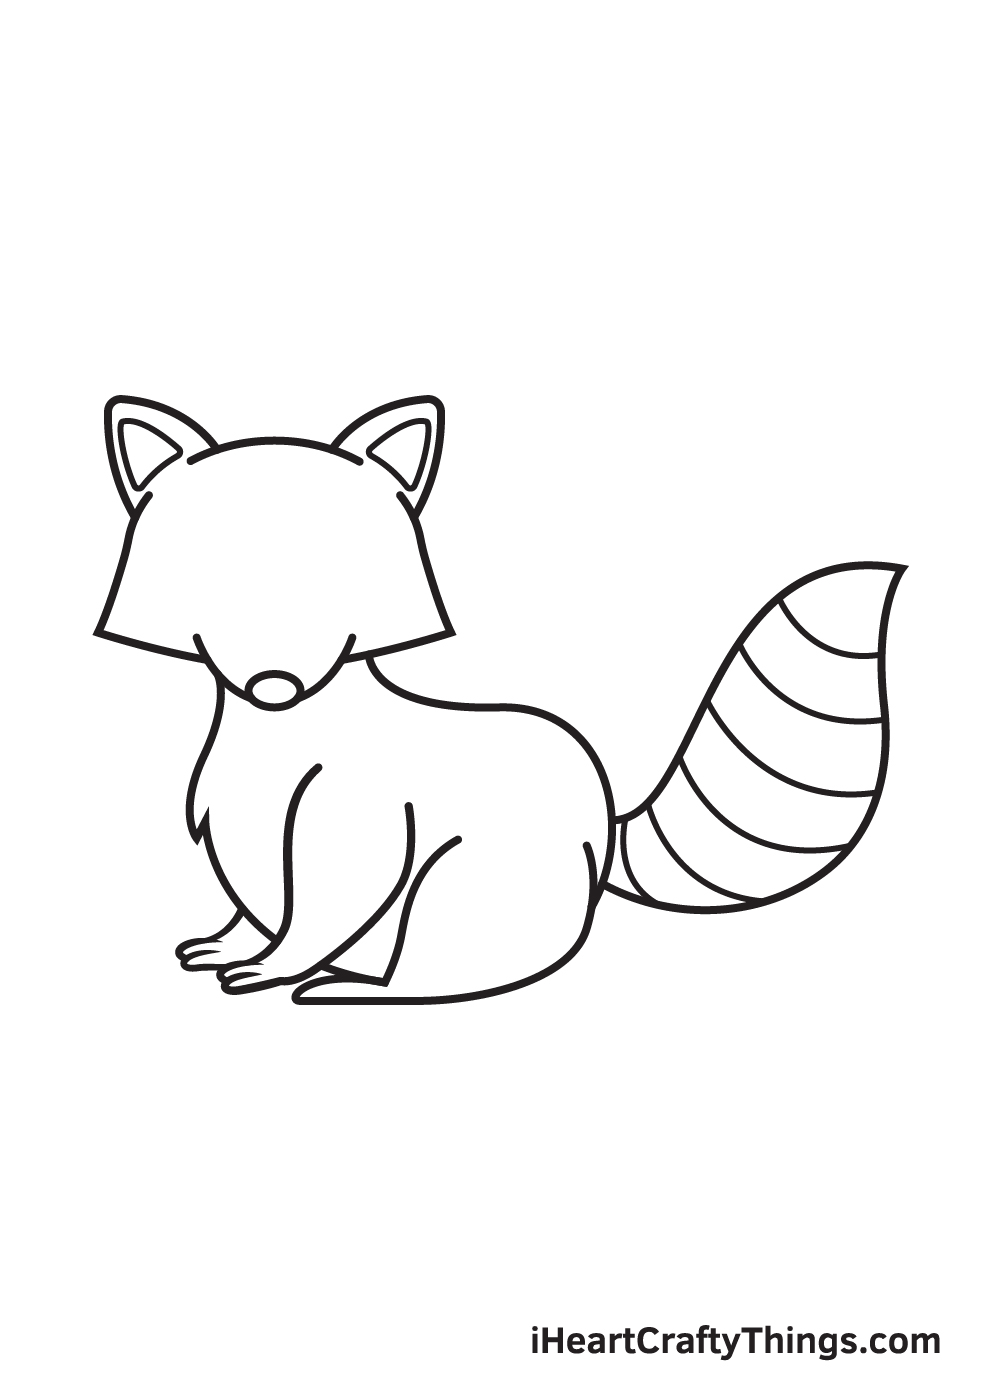
Raccoons have distinct patterns on their tail, so that's exactly what we'll be working on in this step.
Continue by drawing multiple parallel lines across the entire tail. When drawn correctly, it should create a "stripes" pattern on the tail of the raccoon.
Now, draw a triangle shape inside each ear of the raccoon. This creates the appearance of inside or inner ears.
Step 9 — Now, Draw the Raccoon's Facial Features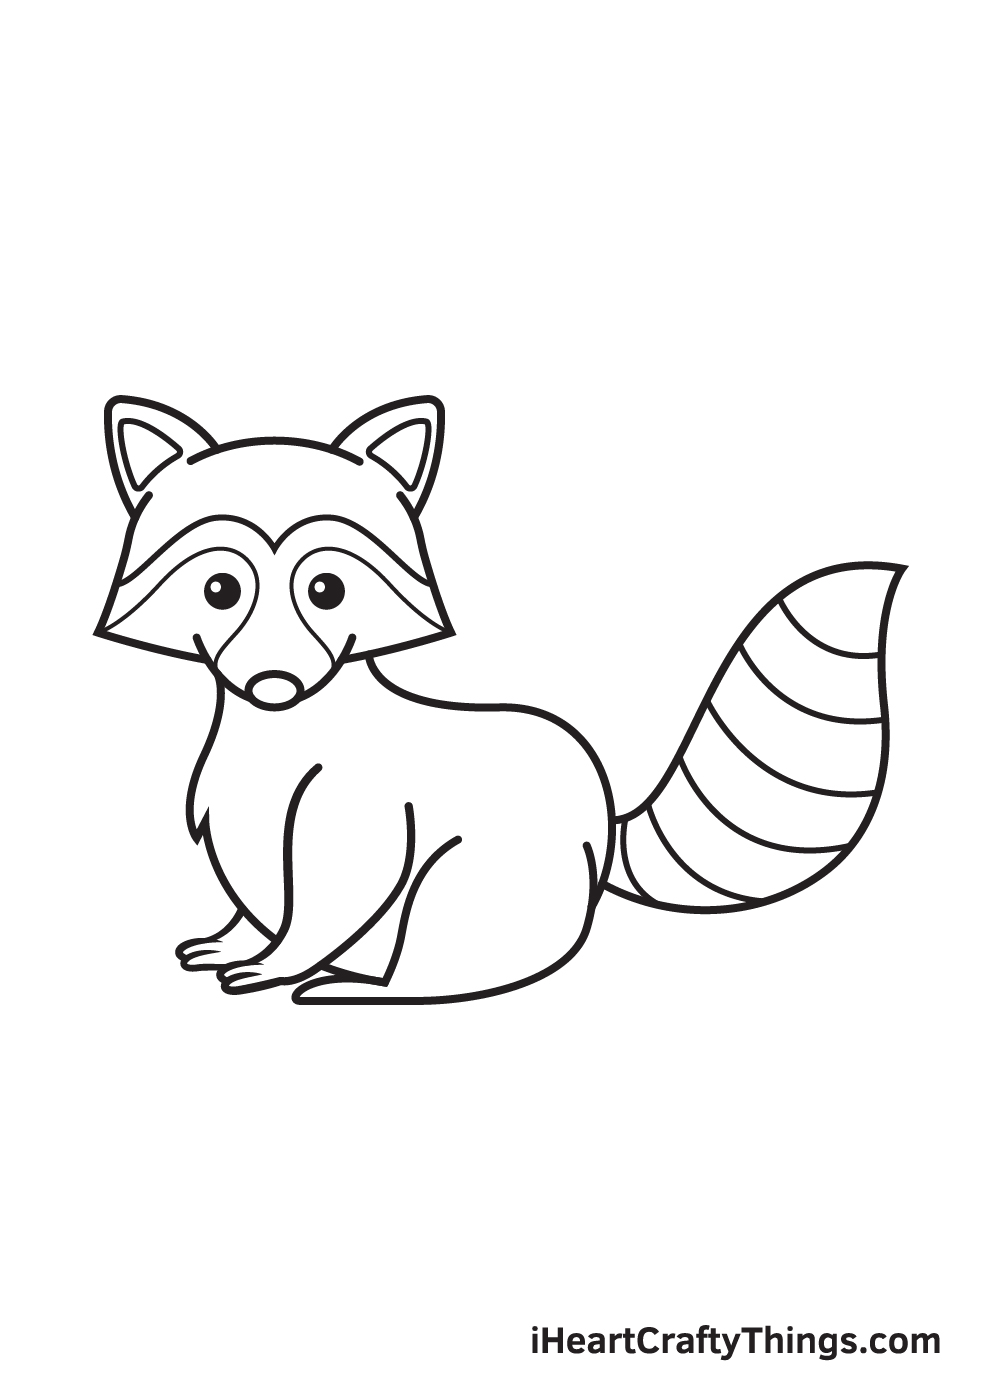
Draw two small circles with a smaller circle inside on the upper portion of the raccoon's face. This forms the pair of eyes of the raccoon.
Afterwards, shade the entire eyes while leaving out the tiny circles inside unshaded to create a dramatic "sparkling eyes" effect.
After drawing the raccoon's facial features, we'll move on to the distinct patterns on its face. Proceed by drawing two curved lines that connect in the middle on the forehead of the raccoon.
Then, draw two curved figures surrounding each eye. This is usually the part of the raccoon with a darker fur color.
There you have it—you have successfully drawn a raccoon! Now, it's finally time for the part we've all been waiting for, which is coloring the raccoon!
Depending on its place of origin, the fur of racoons varies from grey to blackish with brown overtones to silver.
You can opt to color the raccoon using its original colors or use a unique set of colors. Either way, we're sure the colors will turn out beautifully!
The colors of your drawing is entirely up to you! After all, it's your work of art! Have fun playing with colors!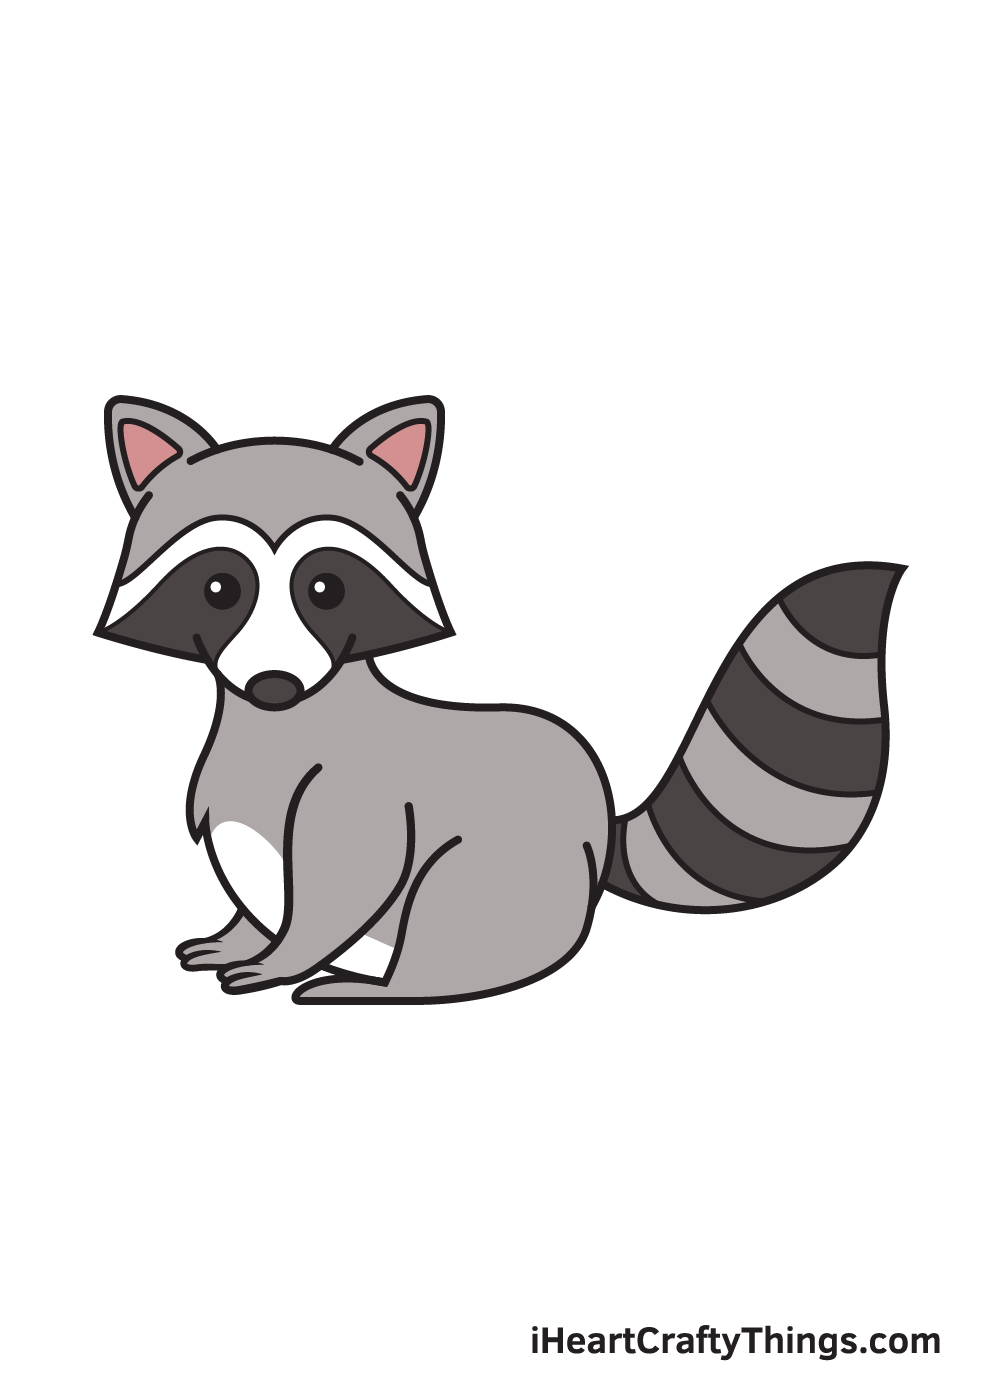
Your Raccoon Drawing is Complete!
We hope you had a good time drawing a raccoon with this step-by-step drawing tutorial! Now that you can draw a raccoon, why not try drawing a raccoon clinging on a branch of a tree next time?
Check out our tree drawing tutorial from our catalog if you're interested!
Drawing a raccoon is an achievement, so you should feel proud of yourself for completing a masterpiece!
Don't forget to share your artwork on our Facebook page and on Pinterest! You've worked hard for it, so it's absolutely worth sharing!
We're excited to see your charming raccoon drawing!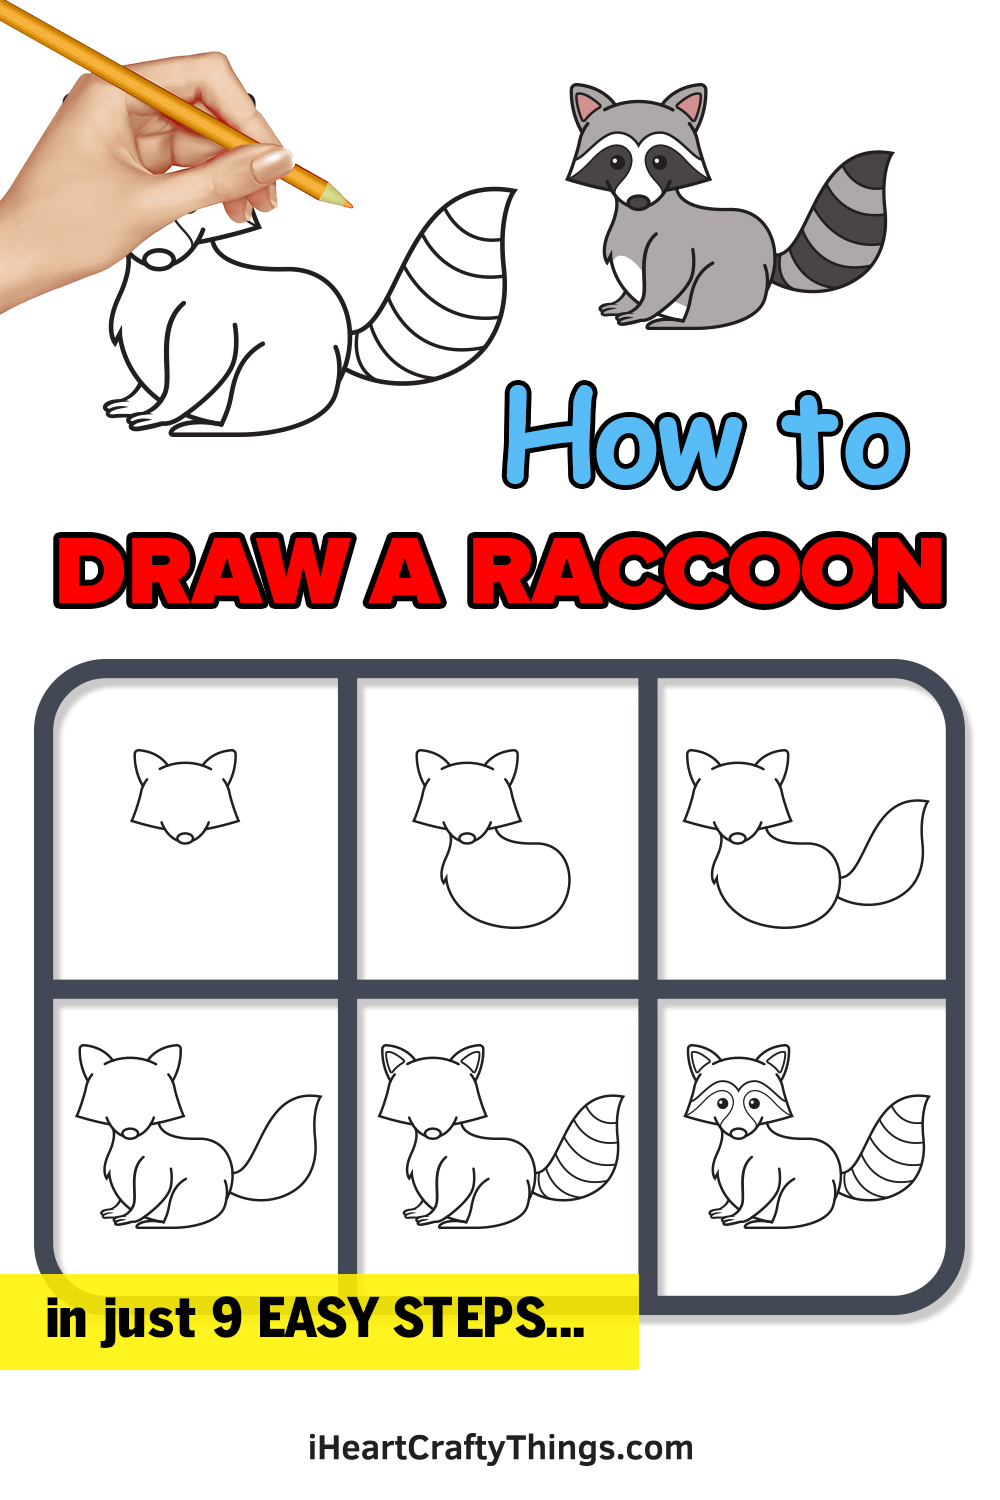
Source: https://iheartcraftythings.com/raccoon-drawing.html
0 Response to "How to Draw a Coon Out of a Tree"
Post a Comment